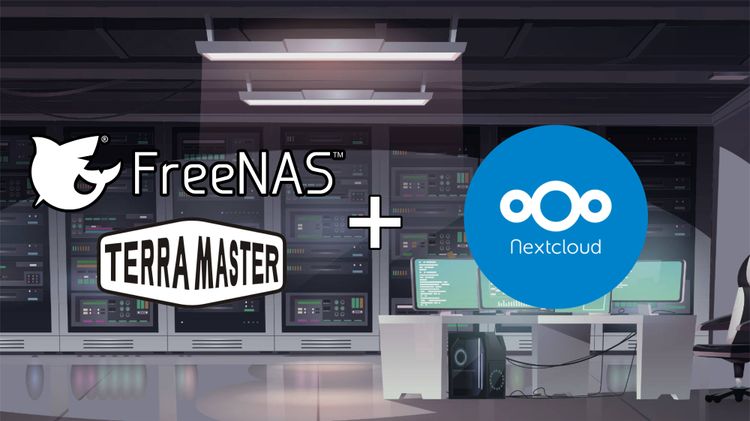
TrueNAS on TerraMaster F2-221

The TerraMaster F2-221 is a great quality piece of hardware, feels rugged & well designed. Unfortantyley for some it is let down by its software, TerraMaster has come along way with its software but still doesn't have the feature set provided by Synology, QNAP & FreeNAS Systems.
In my use case, I wanted this NAS to replace Dropbox with NextCloud as well as having SMB shares for local projects and Plex but only for casual viewing. I might decide to do a tutorial on installing and tuning NextCloud inside a FreeBSD Jail.
This post will guide you through the process of turning your Intel-based TerraMaster NAS into a powerful & reliable FreeNAS powered system.
Prerequisites
- TrueNAS Install USB
Download TrueNAS Core 12 ISO and write to an 8gb or larger USB Drive using Etcher or Rufus. - FreeNAS Installation Media
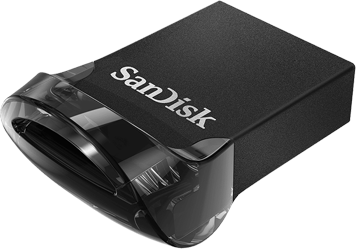
A very short USB drive is required, the new F2-221 PCB has very little clearance, I recommend using a 16GB or larger Sandisk Cruzer Ultra Fit. The FreeNAS community highly recommend getting a second identical USB to mirror your installation.
RAM Upgrade
TrueNAS recommend 8GB RAM minimum, I upgraded mine to 10GB using unofficial but compatible RAM specifically: Crucial CT102464BF160B 8GB.
Worth noting the 2GB included is soldered on.
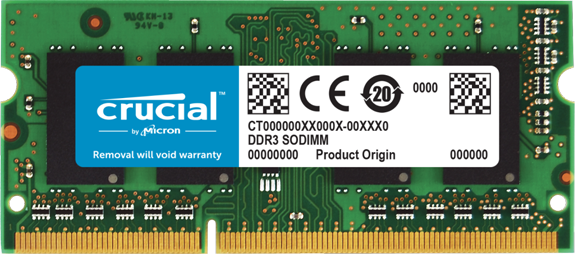
The RAM must be the following type:
- Form factor - SODIMM
- Speed - DDR3-1600
- Technology - DDR3L
- Voltage - 1.35V
- CL11
RAM Installation
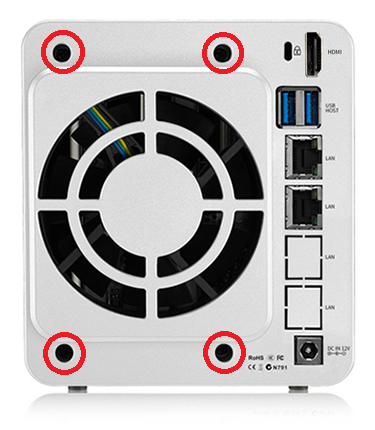
To upgrade the ram you must first remove all hard drive bays then undo the 4 screws around the fan on the back on the NAS, you can then lift this section off. When lifted remove the fan from the header on the PCB.
With the NAS lying on the front, fan side in the air slowly lift the aluminium housing upwards.
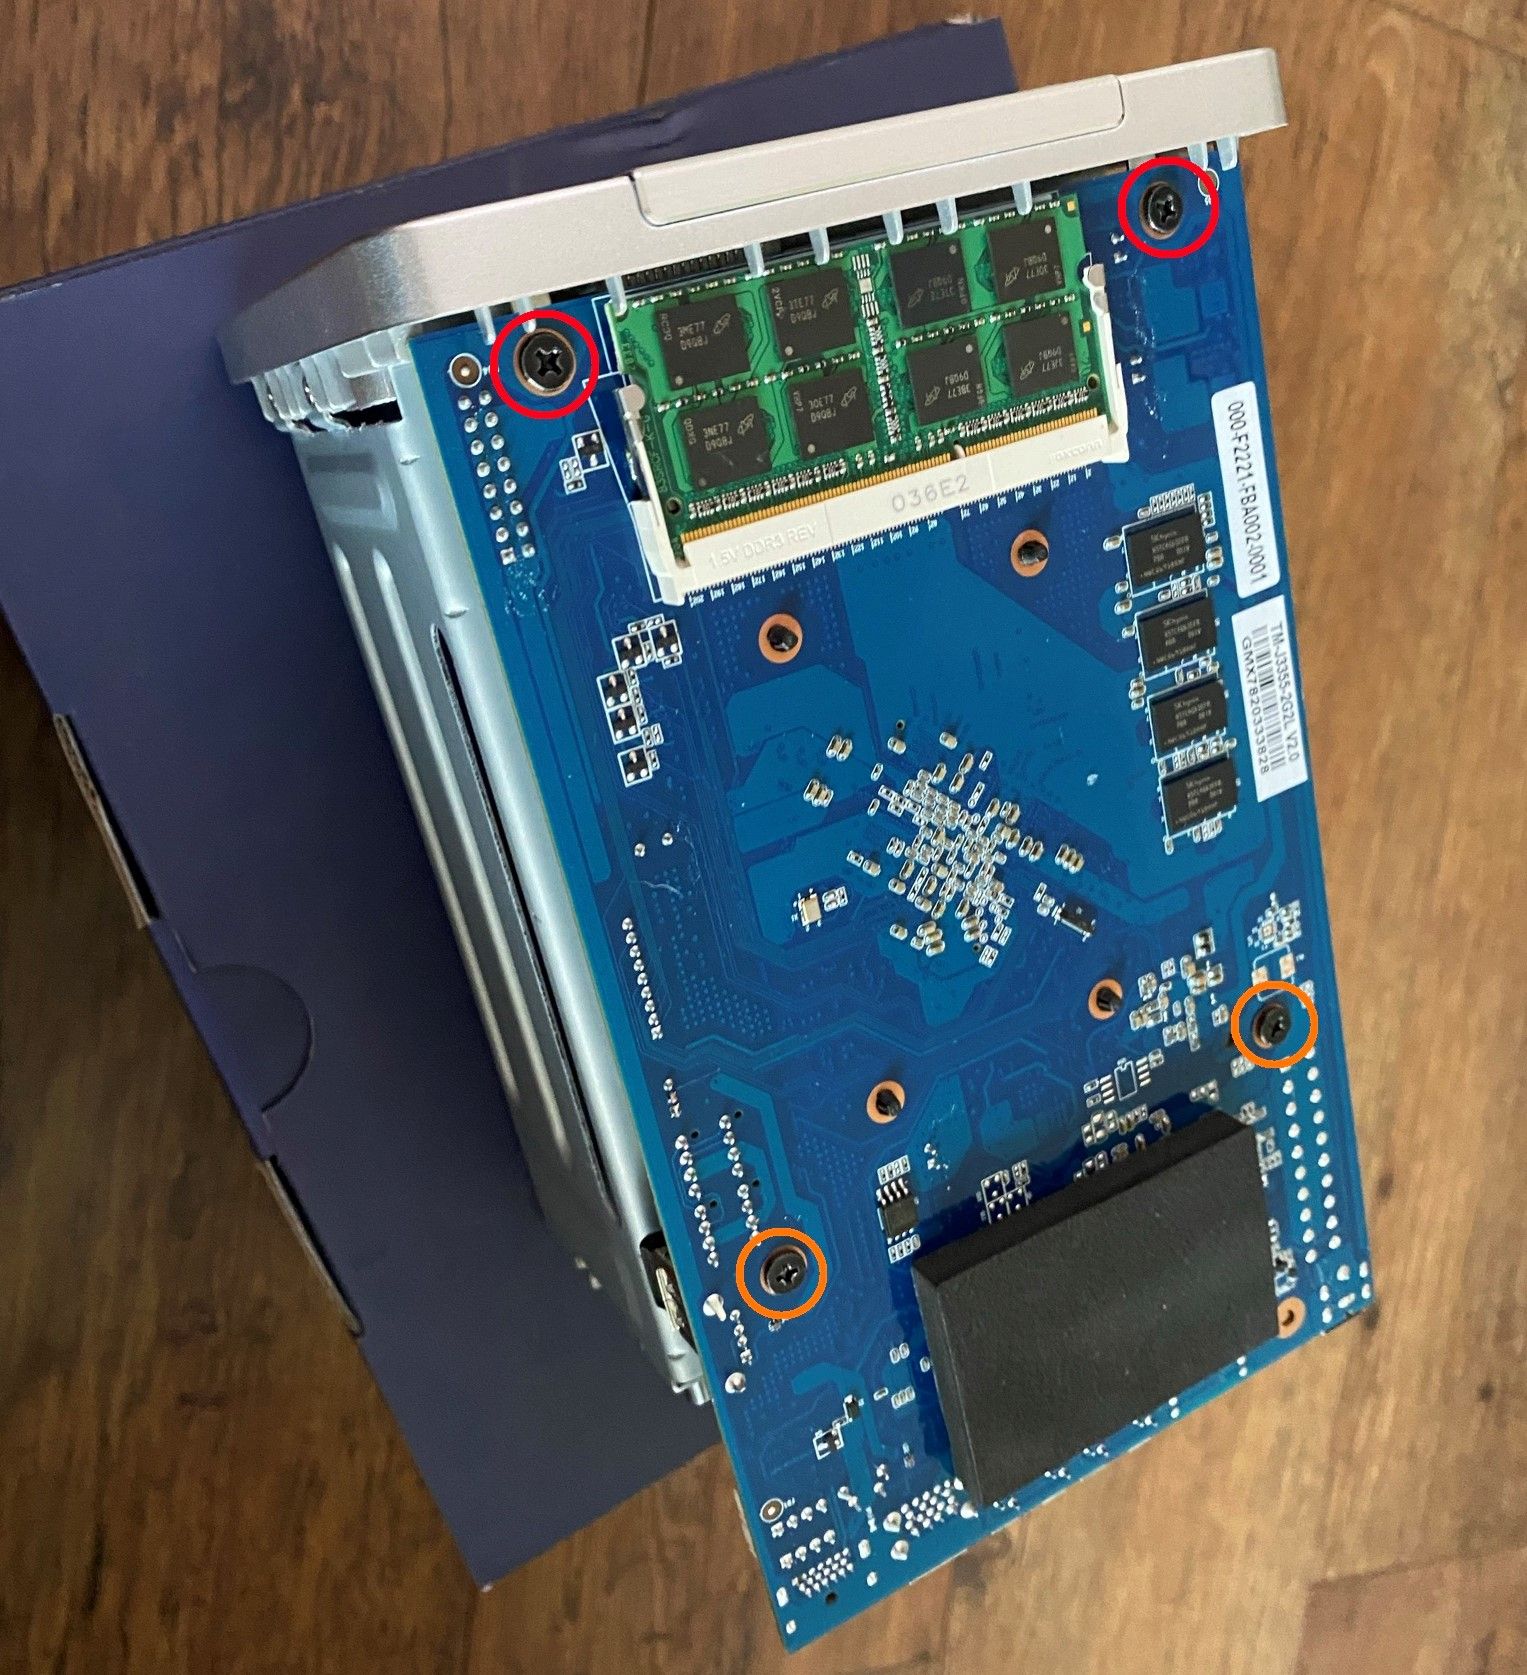
The RAM is located on the back of the PCB, you will need to remove the following screws before installing the module, orange may not be required but needed when replacing the USB.
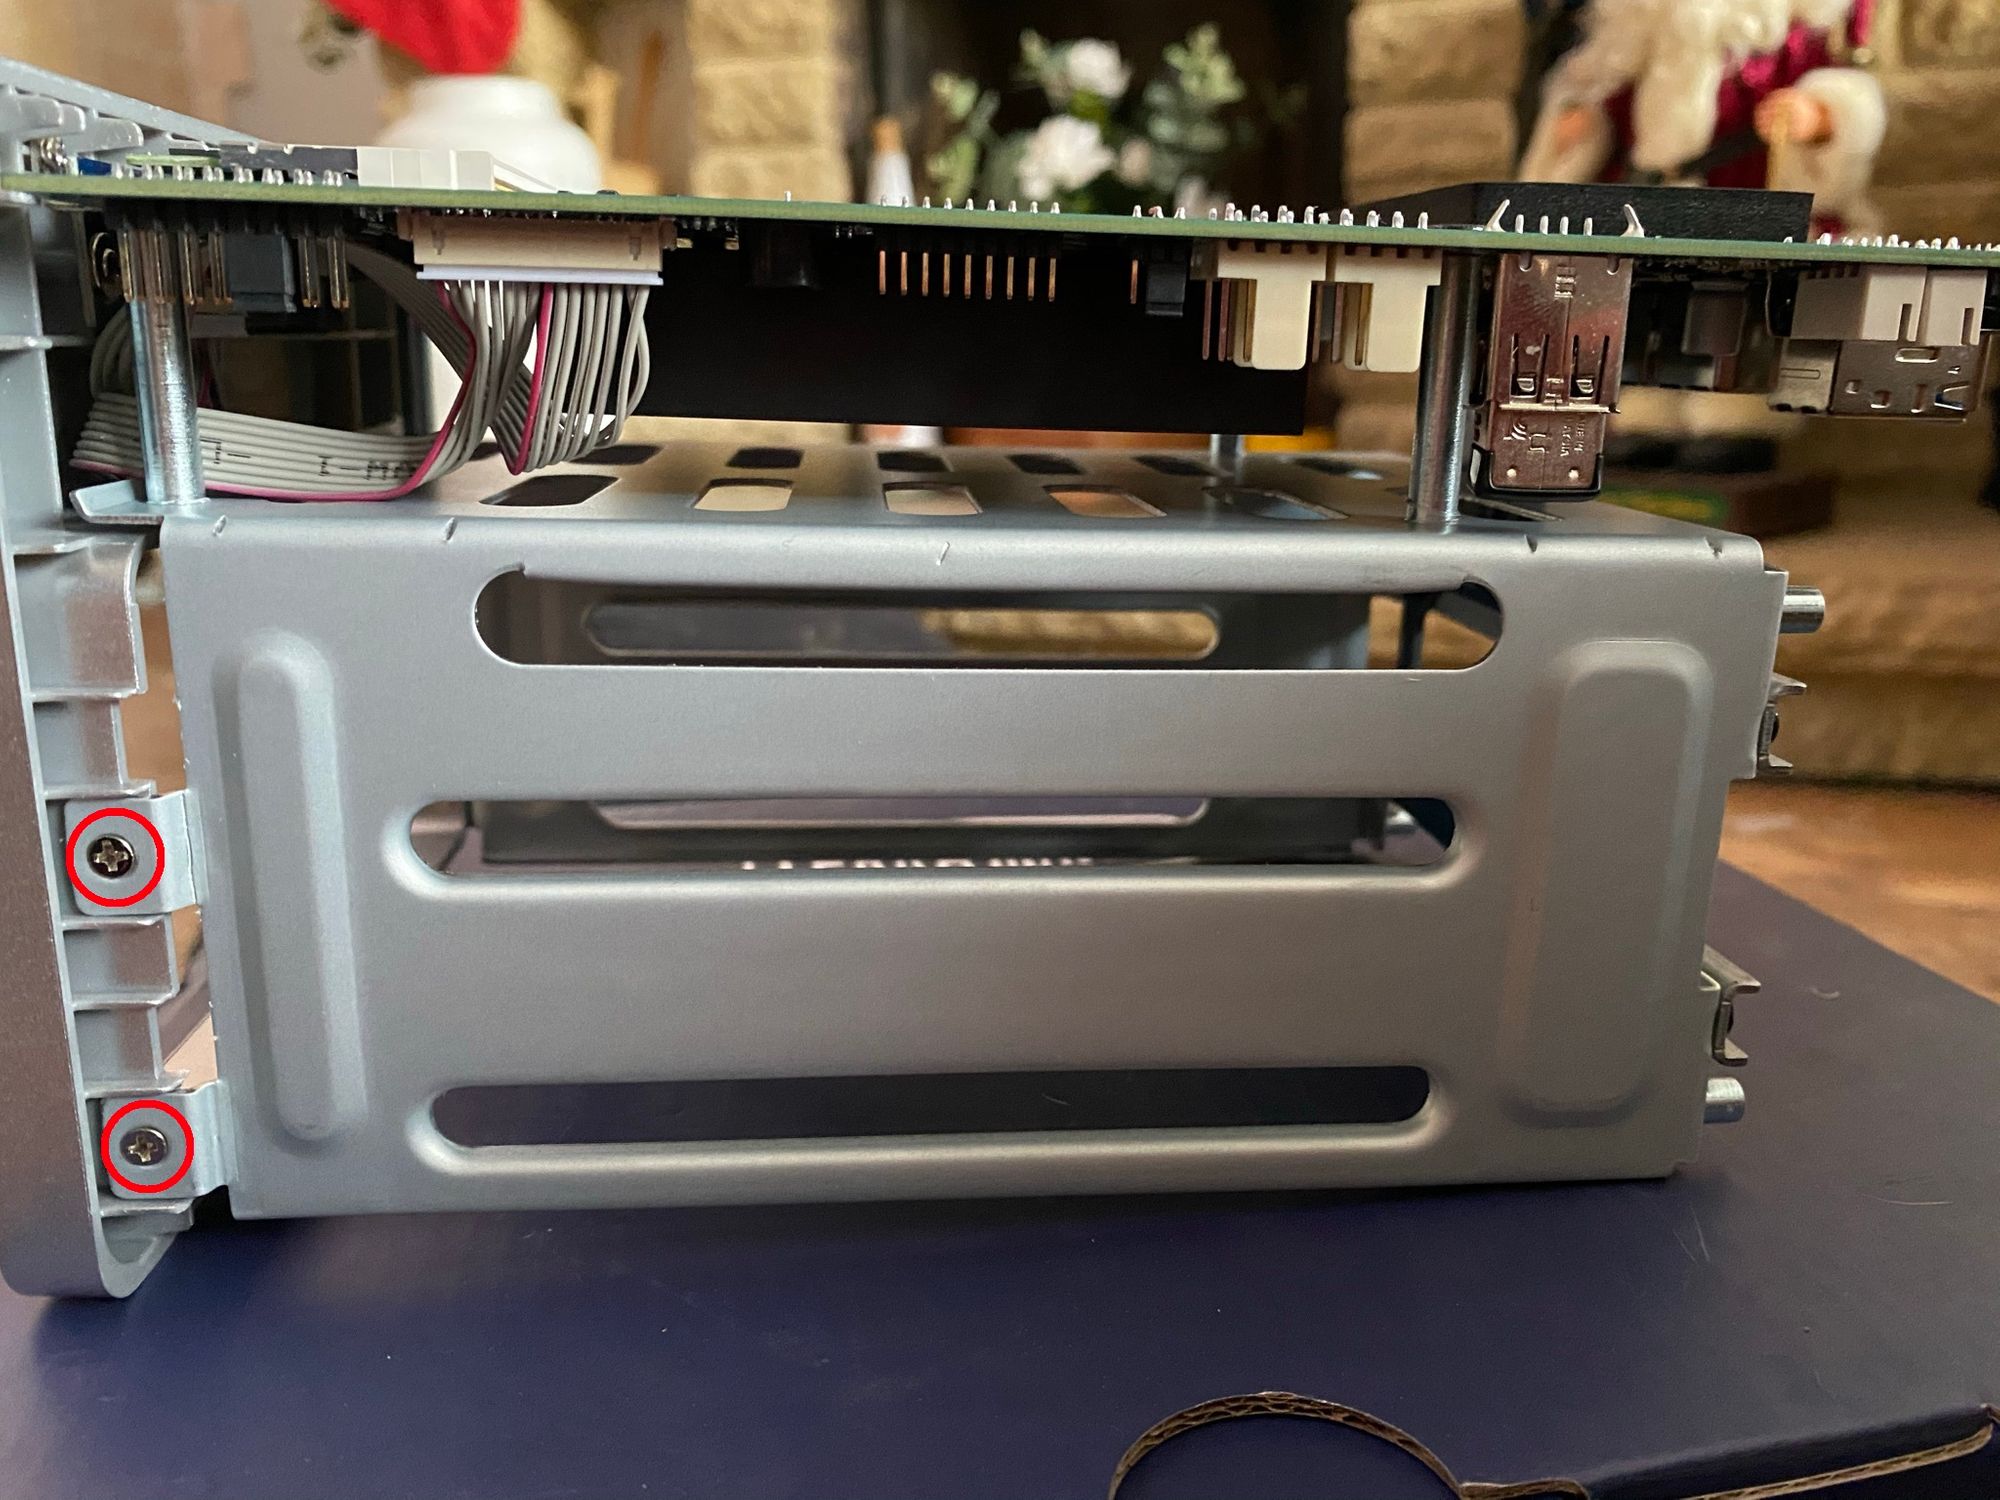
Replace Interal USB
With the screws removed from the RAM Upgrade steps you may need to move the tabs holding the HDD bay to the front panel, this should give enough clearance to remove the existing USB and replace with your new install media.

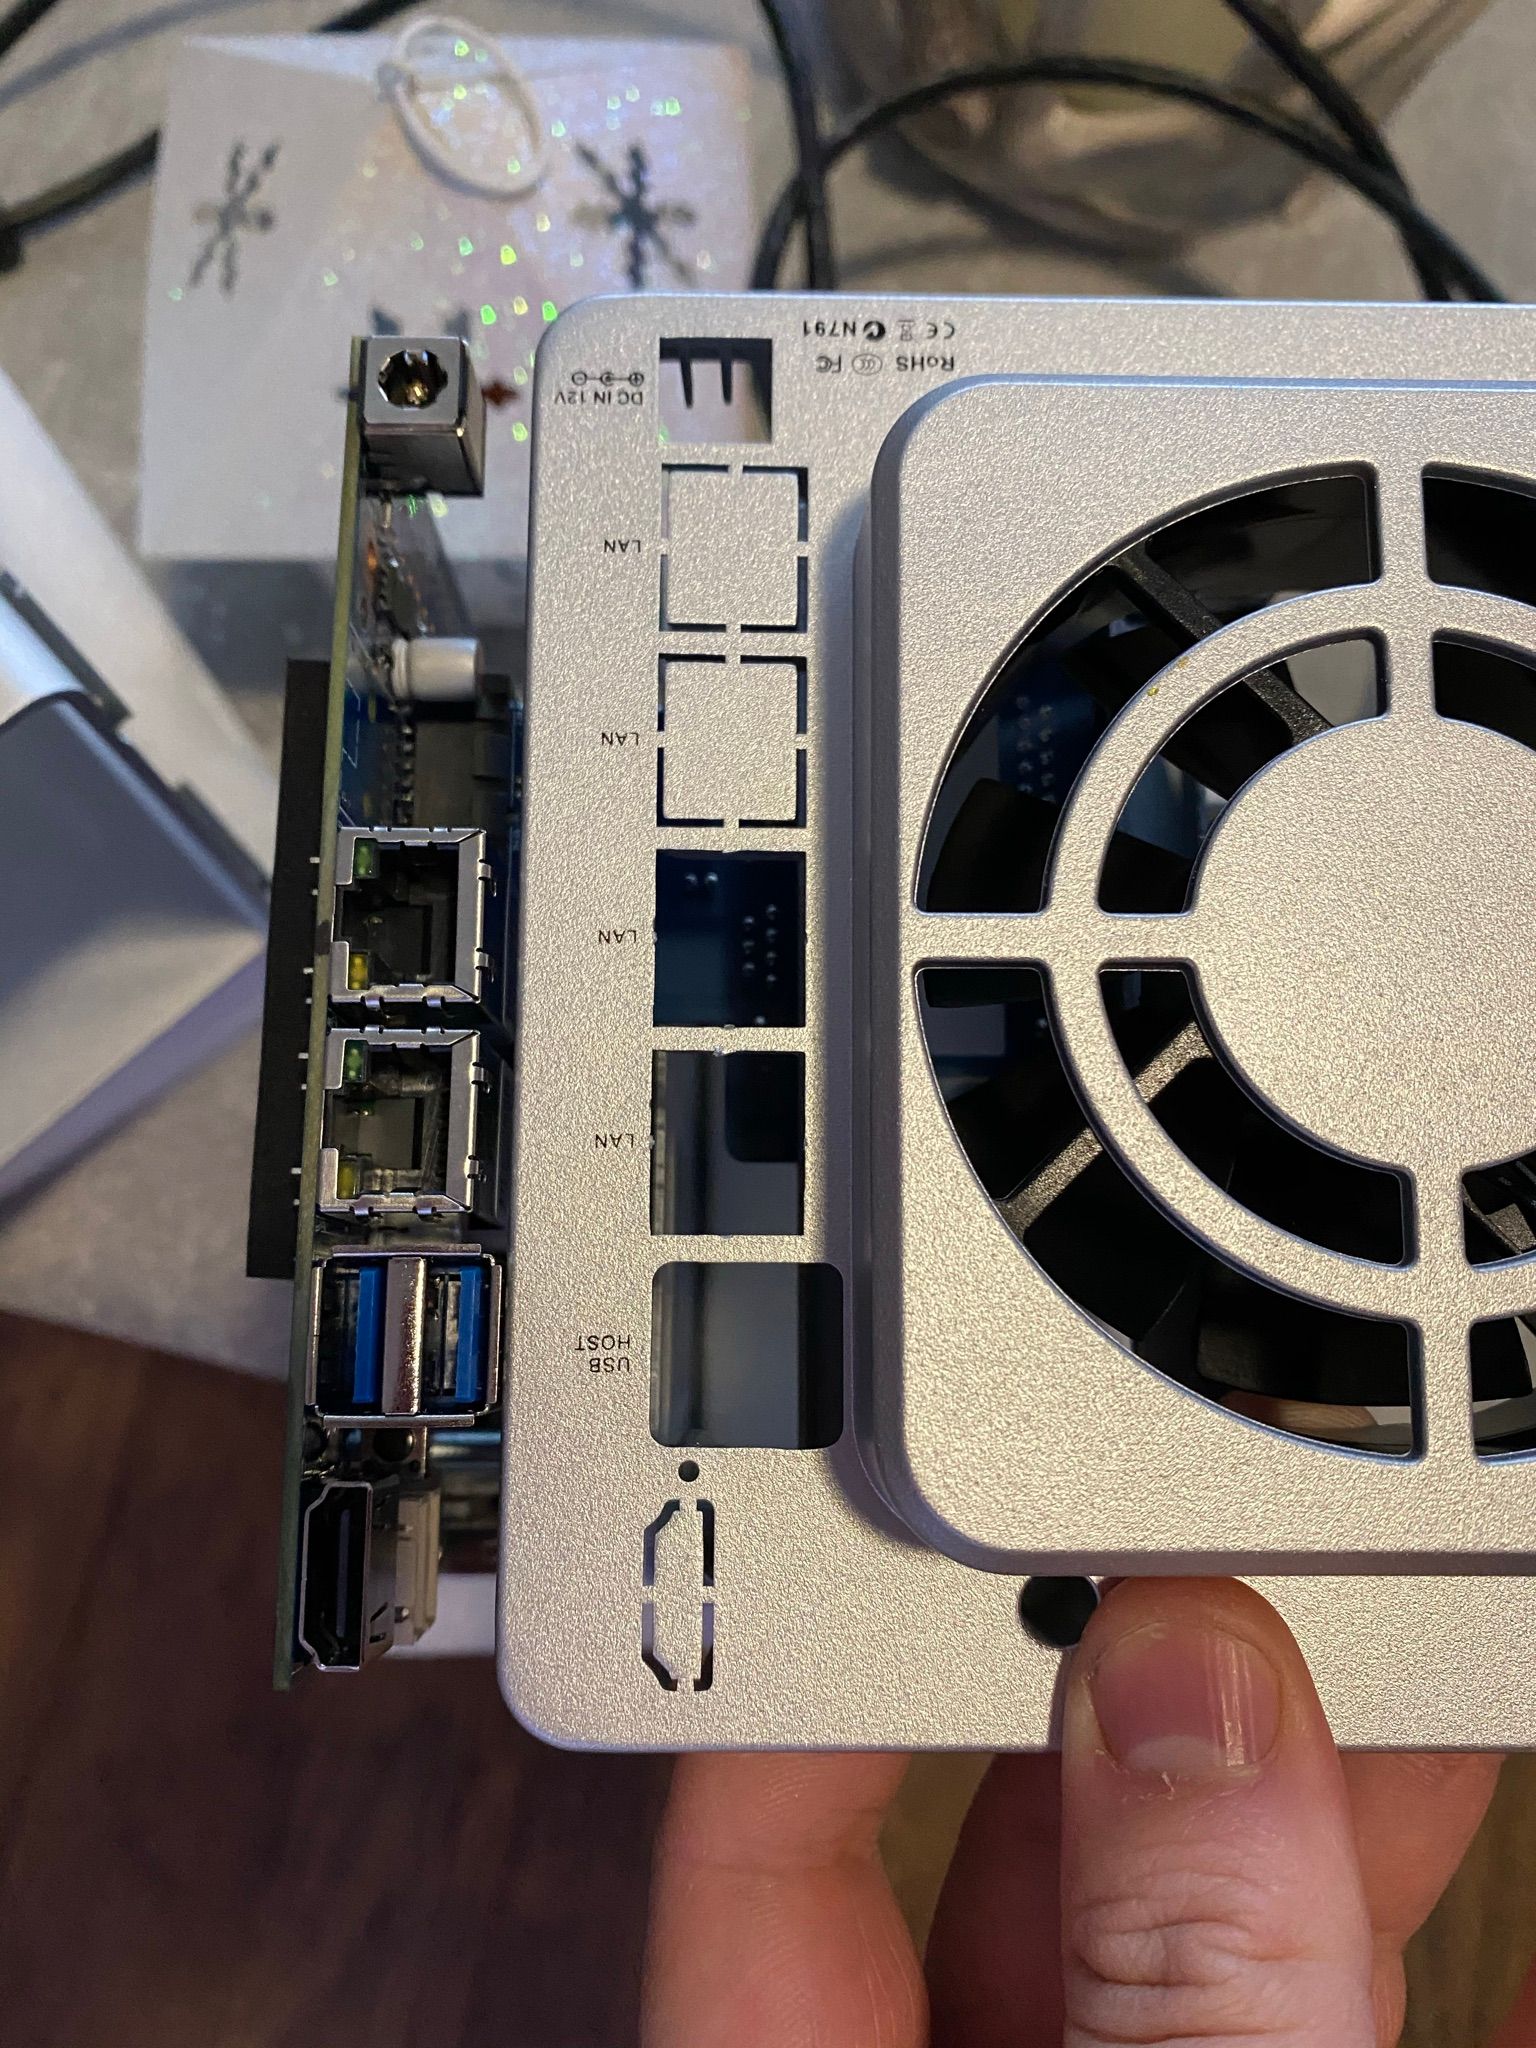
HDMI Port Access
I'm not sure if my unit was faulty but the HDMI port did not have the cover removed, I removed mine by punching the tabs out with a small sharp screwdriver. Your mileage may vary.
EFI BIOS
This may not be required, but if FreeNAS isn't installed in EFI mode it won't boot from USB after creating a pool on your drives, this is due to boot priority options being disabled.
Before entering the BIOS connect a USB keyboard & HDMI Cable with a monitor to the back on the NAS.
To enter the BIOS press the "Del" key simultaneously while booting.
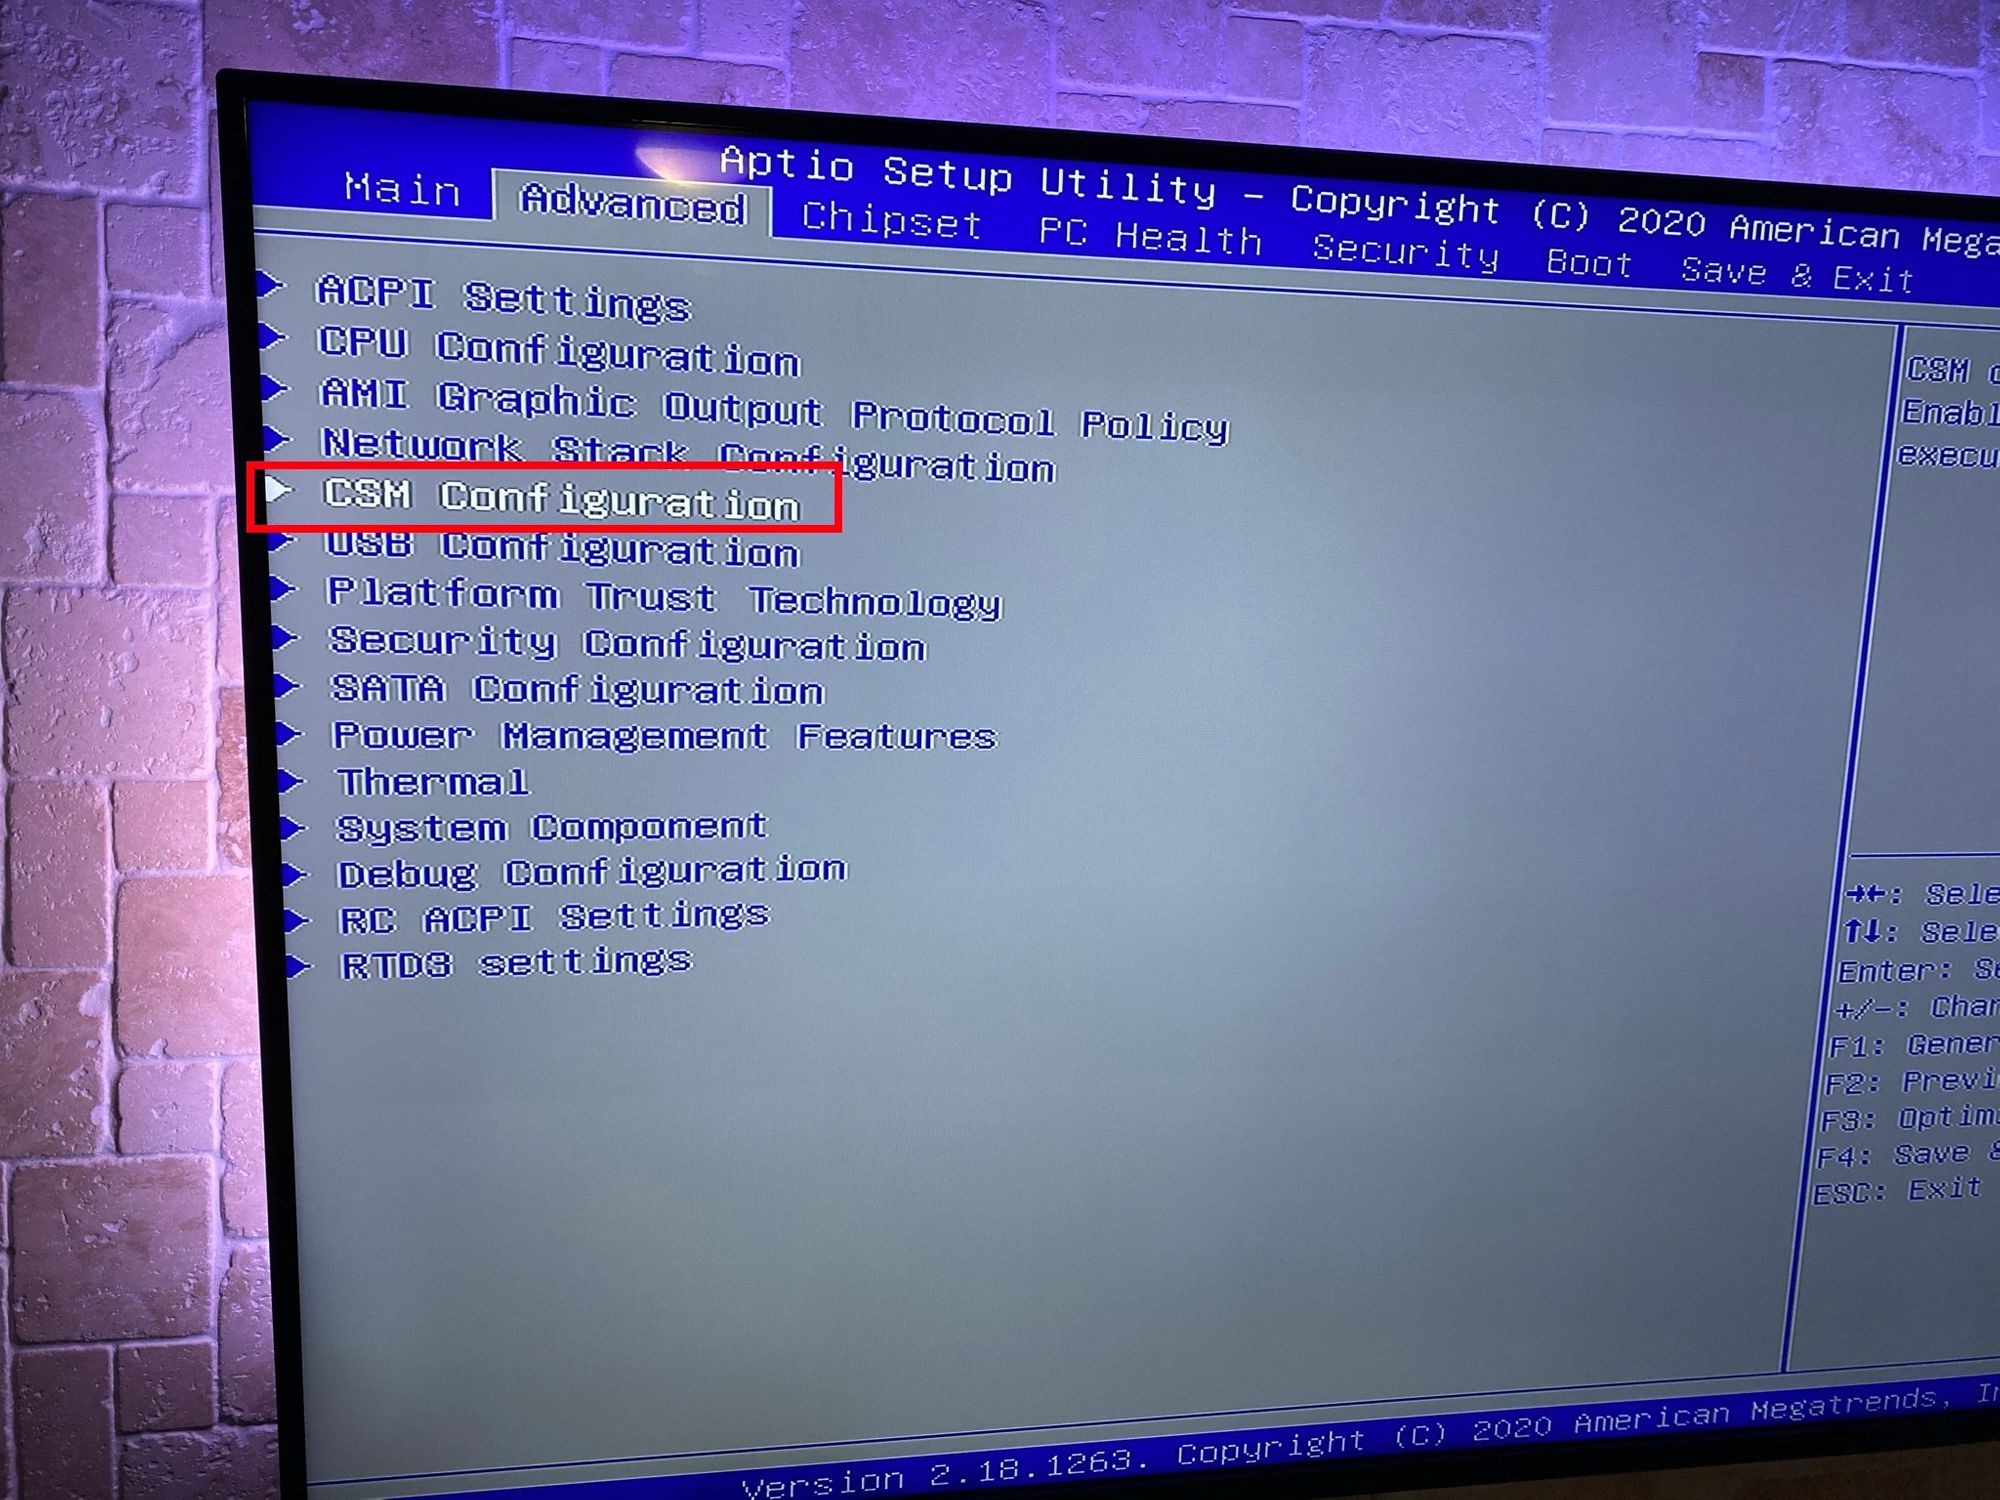
Use the following settings in CSM Configuration:
- Boot option filter -> UEFI only
- Storage -> UEFI only
- Video -> UEFI only
As seen below.

TrueNAS Installation
While your NAS is switched off insert your TrueNAS boot media into the rear panel along with a keyboard & display, your NAS should boot straight into the TrueNAS installer.
If yours doesn't enter the BIOS again, go to "boot" and select the installation USB for a one time boot.
Booting the USB will bring up the TrueNAS installer, where the shark fin remains, either select option 1 or just leave the autoboot to select it for you.
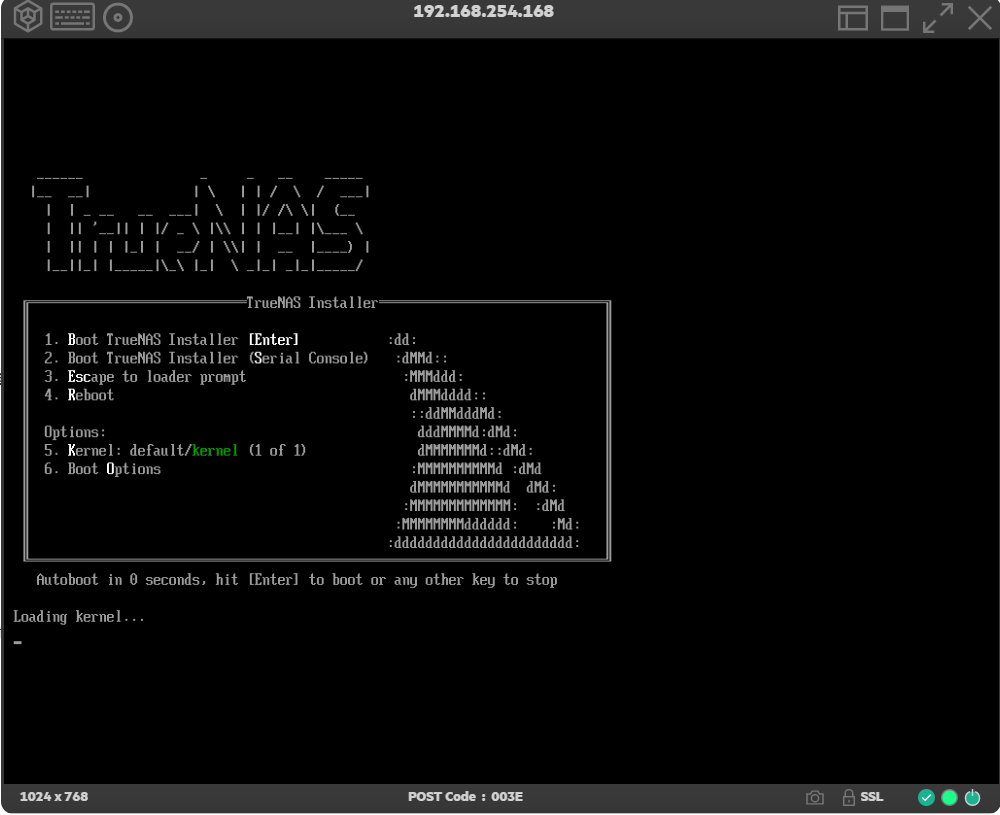
TrueNAS 12 will install by selecting option 1 (Install).

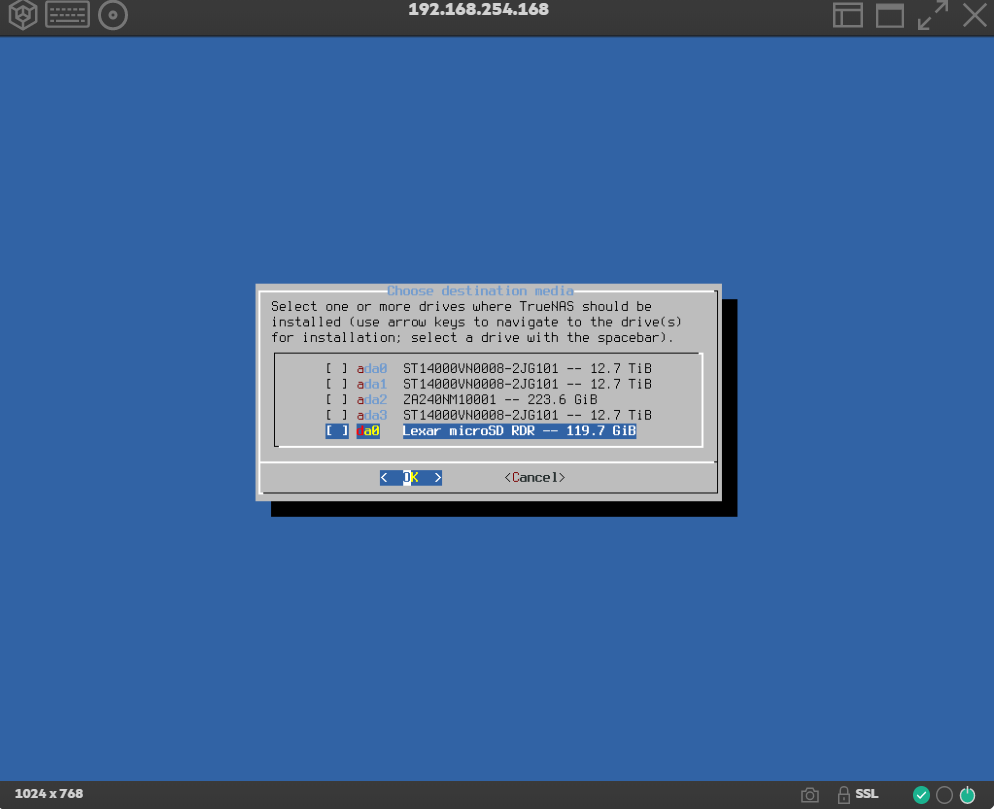
Select the install destination - this will be your internal USB and not your hard disks.
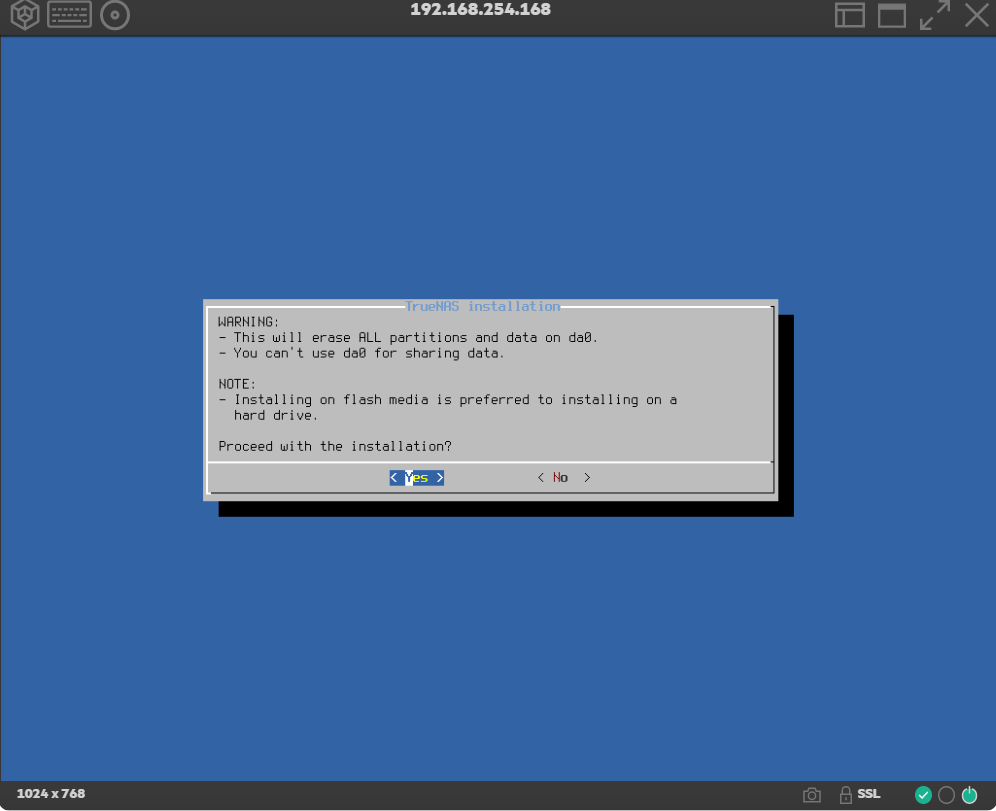
You will be given a warning that all data will be erased (Protecting us from ourselves). Select Yes.
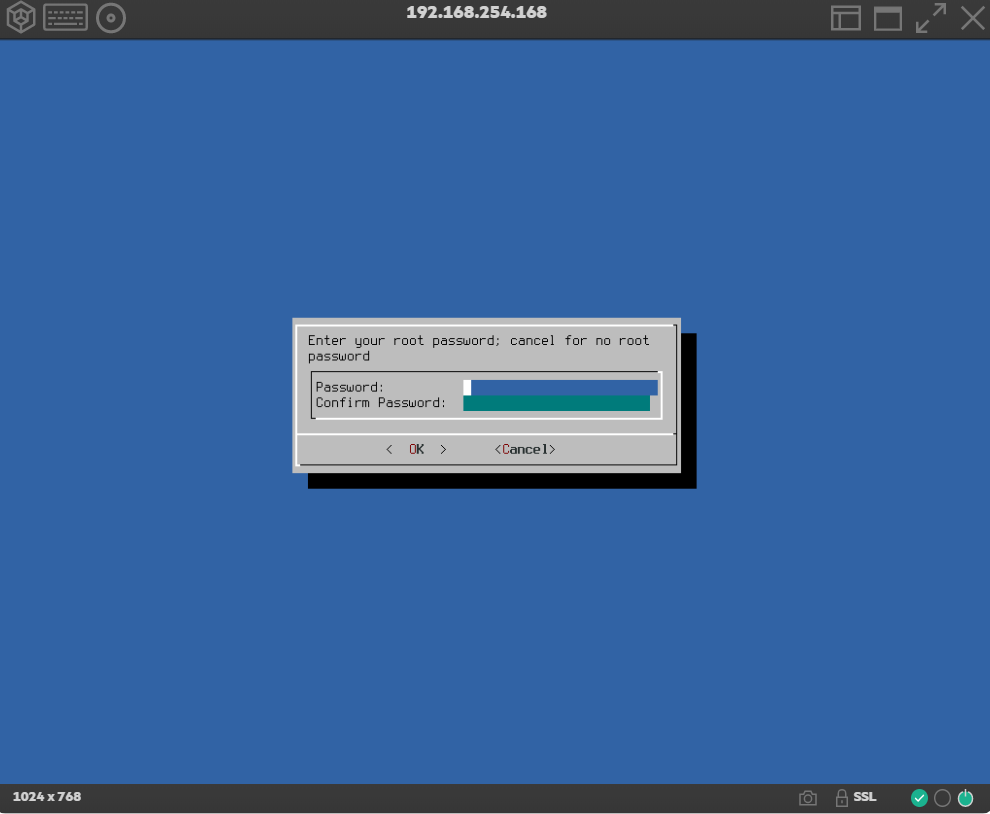
This will now prompt you for the root password on the box. It is strongly advisable to use a password but not required. Simply click cancel if you don’t want to have a root password.
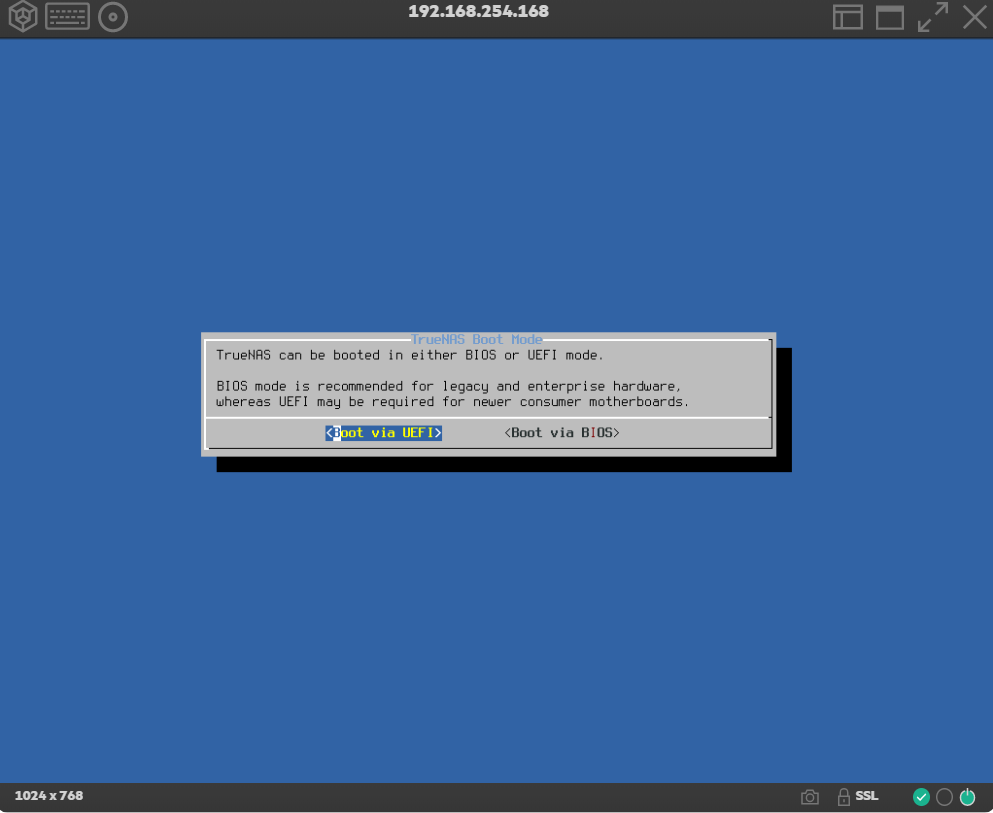
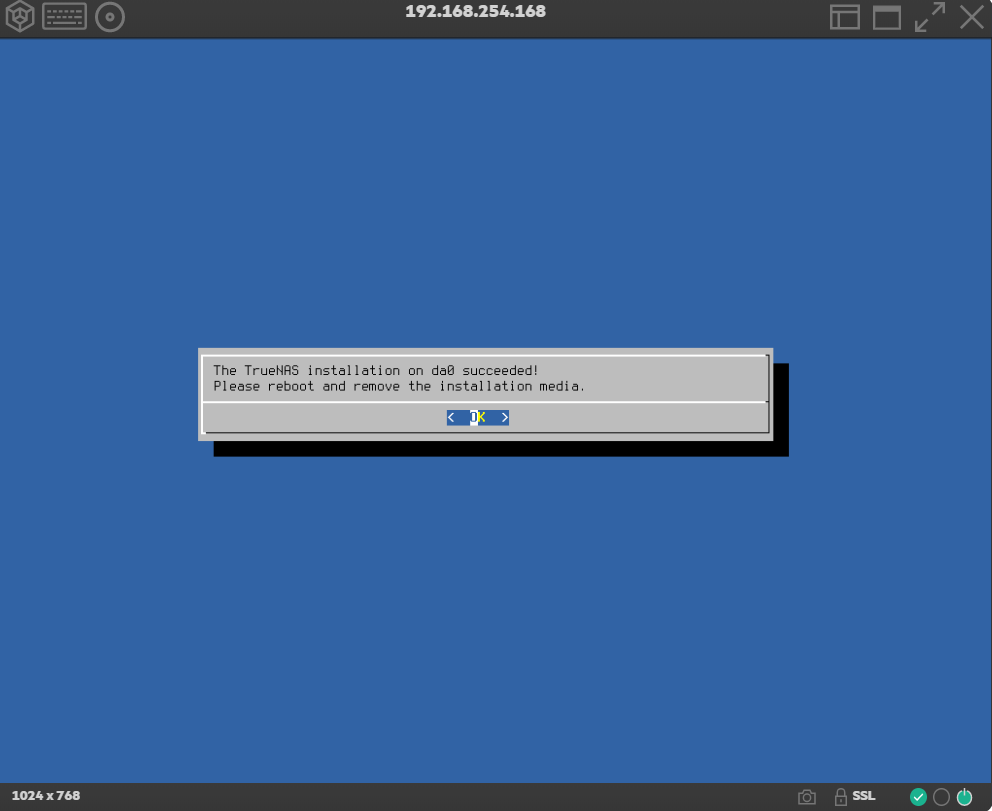
You must select boot via UEFI otherwise your NAS will attemp to boot from hard disks once your drives are configured.
Now reboot, remove the install USB and enjoy!
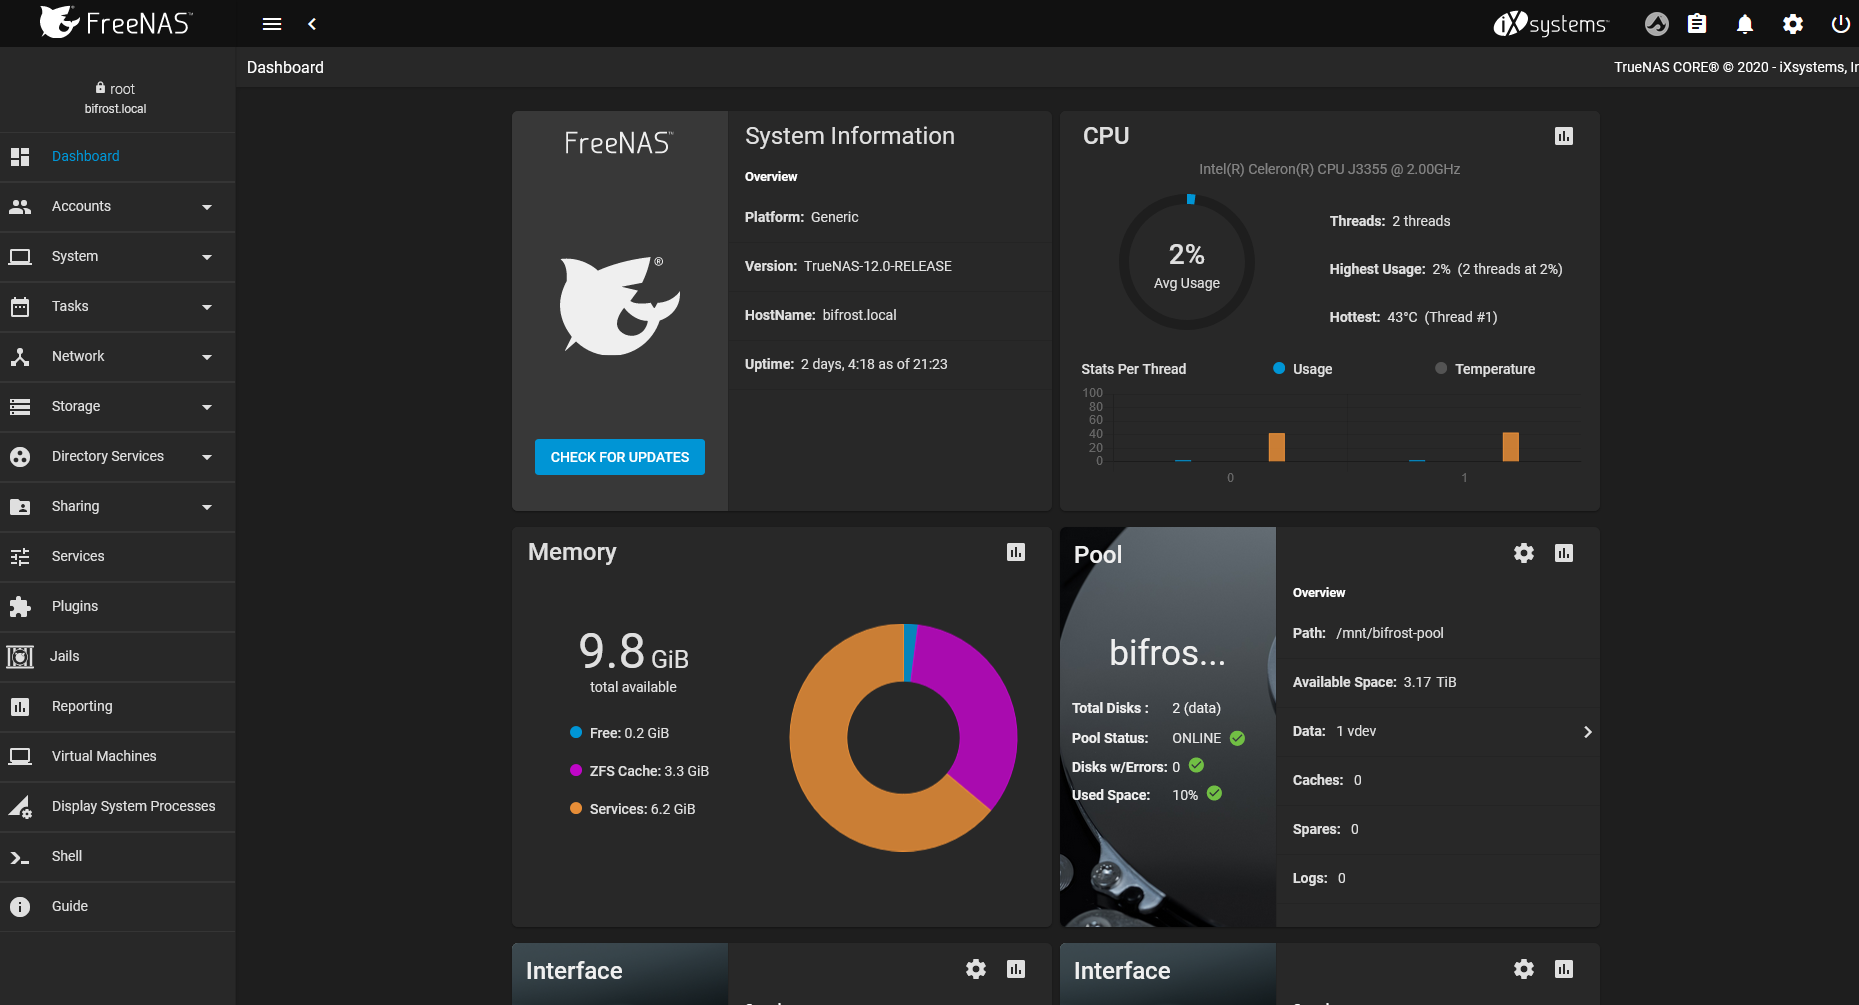
TrueNAS Web UI
Screenshot from my TrueNAS web ui after HDD, NextCloud & Plex setup.


Comments ()